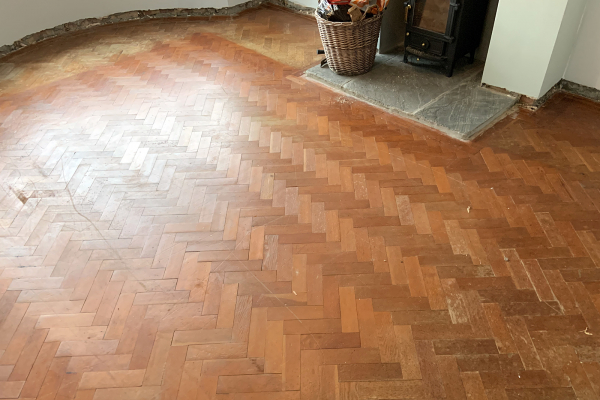
We recently worked with a client who had uncovered their beautiful Douglas Fir parquet and commissioned us to re-finish their floor to a premium specification, restoring and modernising the wood to reflect its quality.
Preparation & initial sanding
We began by preparing the floor. In this case, all that was required removing dust with our specialist dust-extraction equipment since the client had kindly removed all of the staples which were left over from the carpet.
We inspected the floor for evenness, gapping, and stability. In this case, the floor was generally sound and thus requiring minimal sanding for level. This was a perfect job for the Pallmann Spider, a sanding machine with innovative three-disc technology allowing for a very fine finish. Starting with this machine rather than a belt sander is always preferred as each time you sand a floor you are reducing its dept. A floor can only be sanded so many times so removing as little wood as possible is an important way to extend its life.
We used the Pallmann Spider to carefully remove all of the old coating.
Filling the gaps
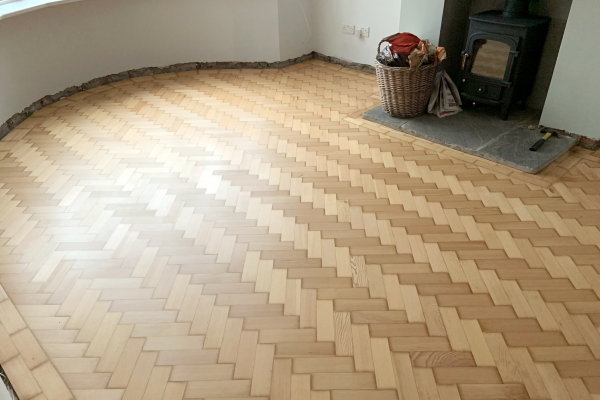
Over the years parquet floors commonly develop gaps between blocks. Filling these gaps makes the floor look like new and makes a dramatic difference to the appearance of the floor, changing it from old and tired to new and totally stunning.
We made a bespoke filler by lifting off the floor sufficient wood dust to mix with a filler gel. We filled the gaps with this paste and allowed it to harden.
First coat – primer
This is the first of three coats the floor will receive. It is best to prime before sealing so as to avoid the detrimental effects of edge bonding or rafting of the wood flooring sections, this applies especially to woodblocks, on-edge parquet, planed boards and generally to wood flooring on warm water underfloor heating systems.
Second and third coats – lacquer
As soon as the primer had dried we applied a full and even coat of Pallmann PALL-X 94 lacquer onto the surface using the Pallmann Application Roller. This coat was then left to dry overnight. The following day the lacquer had cured. It was ready to be keyed, or cut back, with an extremely fine grit sanding disc pad. This ensured that the second coat would adhere and avoid delaminating.
Once the first coat of lacquer had cured, we once again used our specialist dust-extractor which is able to remove even microscopic traces of dust on the floor. The final coat of lacquer was then applied. After 72 hours the lacquer had fully cured and the client was able to move their furniture back in.